Back in March I signed up for what would be Studio Calico's April online class,
This is Me. Its a mini album project all about - Me. I'm super excited to embark on this class and I've had fun thinking about what I want to include and how I want to go about telling my story.
First things first I knew I wanted to use another handbook album and because I'm on a major, I love anything woodgrain kick,
this one was the obvious choice.
Next step, deciding the look and feel for the album. Was I going to decorate it, if so how and in what colors. Lately another thing that I've been loving and seeing and using and wanting an awful lot was neon, especially neon pink. My love of neon pink started oh way back in the 80's when it was cool the first time around. Fast forward to last summer and I was sporting neon toes for most of sandal season. This year, oh yes the love is still going strong. My first big decision, neon pink would be featured. My next fairly obvious choice if you know me at all is GLITTER! Gold glitter to be exact.
If I am remembering correctly, back in 2011 when I first starting playing around with Pinterest I came across an image of a December Daily album that I just fell in love with,
this image precisely. I died and went to glitter heaven when I saw the cover and its stuck with me every since. Recently while trying to figure out how to achieve a similar look and googling every possible incantation of 'giant glitter splatter', etc. I came across
a blog post with and great instructional video. Finally answers and suggestions for how to achieve the same amazing look.
I used what materials I had on hand and started making one heck of a mess splattering and glittering my heart out. Harder than it seems (because of my 'random' issues, not because of the instructions given), but still super fun.
I decided I wanted to make a splatter on my woodgrain album but also wanted something in the middle of it, kind of set inside the splatter. I played around with a bunch of ideas, words, my name, etc. Eventually I decided on the very simple, Me.
I wrote the me about 100 times on my ipad until I was happy, using the Paper53
app. I saved the file, uploaded it to my computer, played with sizing and such and saved it as a .jpg so I could cut it out on my Cameo.
Here is a bit of the process in action. I did a practice run on a separate piece of brown cardstock and I was so happy I did. It helped me see how my splatters would look and lead to me know what not to do or what I didn't like and hone in more on the look I wanted.
One thing I did do when I traced my Me in the Cameo was I also made a fairly large offset of the image so that I would have something to mask off my area that wouldn't get glittered. I attached the mask to my handbook using a removable adhesive tape runner. It held it down just fine for the time needed. It didn't stick at all to the cover when I removed it. I'm sure adding watered down glue helped there too.
Here is a look at the mask in place with my glue spatters down. Not going to lie, I'm pretty sure I held my breath the entire time for the glue application. Talk about panic that I was going to completely ruin this cover.
I laid on a fairly heavy coating of glitter. I used Recollections brand glitter from Michael's in Champagne.
I let the above layer sit for a few minutes, probably about five, because my patches were so thick. I wanted to make sure it had a chance to absorb some glitter before I tipped it over to knock off the excess. I was also worried about runs more than anything. I didn't want the shapes of my splotches to get altered in any way.
I carefully and quickly tilted the cover just so the majority of the excess fell off. I let it sit a bit longer and decided to pull up my mask. I was afraid it would get dried down if I didn't remove it. It came up really easily, like I mentioned above the water in the glue must have dissolved the adhesive a bit.
It took a good few hours to dry completely and I just left it along and let it do its thing. Once it was fully dry I was able to go over the areas that were still covered in glitter and brush it off. A large powder blush type brush ended up being the most effective for removing the excess bits that weren't glued down.
Here it is all finished.
I added the same neon pink paper to the spine and some gold mirror thickers. This picture most clearly shows the color of the pink neon, this was incredibly hard to photograph and get accurate color.
I new the opening page was going to be a photo of me, I also wanted to incorporate the colors from the cover in some way. I've never really played around with confetti before so I thought it would be fun to give it a try. I now know that confetti or anything random goes against my nature completely. I'm a very linear thinker so asking me to do anything random usually results in an absolute mess. And if you saw my first attempt at this cover page, you would completely agree.
This is actually two pages, the top is a thin-ish piece of plastic paper from Bazzil that I bought back in 2009! Surprisingly and happily its
still available.
I did the second page first because I needed to know what and where it was placed before I could proceed with the confetti part. I made a simple frame from the gold paper and added two pieces of neon pink washi tape below it. I also wrote @ forty-five on my ipad and traced and cut it was well with my Cameo from the gold paper. I laid that on top of the washi and a few pieces of the confetti so it wasn't too plain when the top piece was flipped.
I found some really amazing papers at a local stamp store and sadly they aren't marked so I'm not sure who makes them but I found a pretty brushed gold paper and a dark brown woodgrain paper that has a subtle gold tint to it. I added more of my neon pink paper into the mix and set out cutting some confetti with my Cameo. The photo below picks up the gold tint on the woodgrain paper really well.
I cut some circles in small, medium and large sizes, the largest is 1" and also some
stars. I loved the star set because you got two for one with one cut, the outline and the inside full shape. The pink paper cut just fine, the gold was okay on the first page, a bit harder on the second and the woodgrain, a major pain. It has a weird back to it that no matter how deep my blade setting (I used a 6) it would not cut thru. I ended up peeling each circle of the backing sheet. At this point after already ruining one sheet of paper I was seriously reconsidering my confetti choice.
My first attempt at adhering them to the plastic paper as mentioned above was a complete and total disaster. Again I don't know how to be random and it totally showed. There I was peeling each and every circle and star off trying to selvedge as much as possible so I wouldn't have to go thru the cutting phase again.
Ultimately I decide to just jumble up all the pieces in a giant pile and just sprinkle it on top of the plastic sheet and see how they landed. I removed some, pushed some out of the way and just went with it. I then took each and every piece off in small batches while trying to remember how they fell and stuck them back to the plastic sheet with vellum adhesive. If the adhesive wasn't going to show thru I used my regular dot roller because I'm running low on vellum adhesive. Some of the adhesive shows thru on the back and I may go back and attach pieces on top where needed, but that's still a maybe.
I wanted to date the photo so I opted to use a date roller stamp and place it so it wouldn't show when the top sheet was in place. I really like how simple the second layer is and how the top layer plays on the second layer. I'm also love the washi with the gold on top.
Here's a few looks at the confetti, not perfectly adhered which I like. Letting gravity take over clearly was the better choice over myself.
That's the extent of the work so far on the album. Like I mentioned above I'm taking lots of notes of ideas on what to include and plan to start this week making some pages.
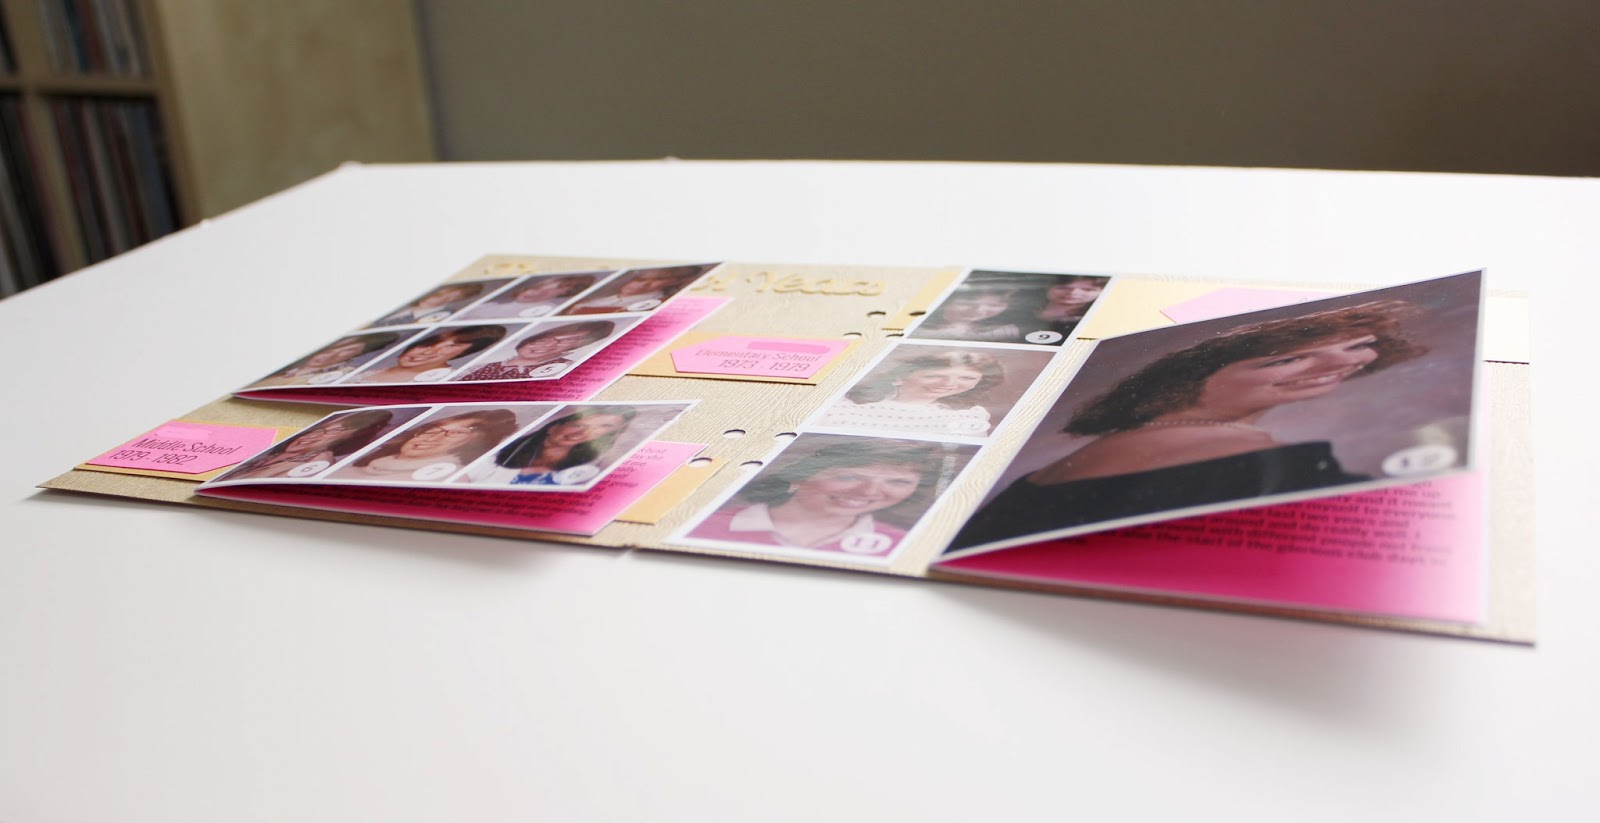
Yesterday I did go thru some photos and picked out some gems to include.
Yep, that's me in my 70's and 80's glory.
I hope to post some more of this project as I move through it so more to follow for sure. Any if you made it to the end of this ridiculously long post, thank you!