Hello and happy Friday! I'm here today to share my first pocket page spreads for 2018. I'm continuing with the 9x12 format this year. I've come to really love this size for this project. The album I'm using is from A Beautiful Mess, I stocked up on my favorite grey album before they closed their scrapbooking shop and I'm using protectors from Studio Calico. Studio Calico is currently the only company making this size album and protectors and I'm really happy that they have kept it in their line up.
I really love the pocket page scrapbooking concept and I've been doing this type of scrapbooking since it all started back in 2010. That's a really long time, and for quite awhile I did the project weekly. I got a bit burned out over the past two years and didn't always complete my albums. I started working on my 2017 albums fairly late last year and its still a work in progress but I'm totally okay with that. One thing I realized when I sat down to make spreads for that album was that I really had no desire to make weekly layouts anymore. This is a completely personal decision and one that each individual needs to make for themselves but for me it boiled down to a) I was bored, b) I didn't want to just fill pockets because I had to, and c) I wanted to take the pressure off of myself that I had to do it a certain way.
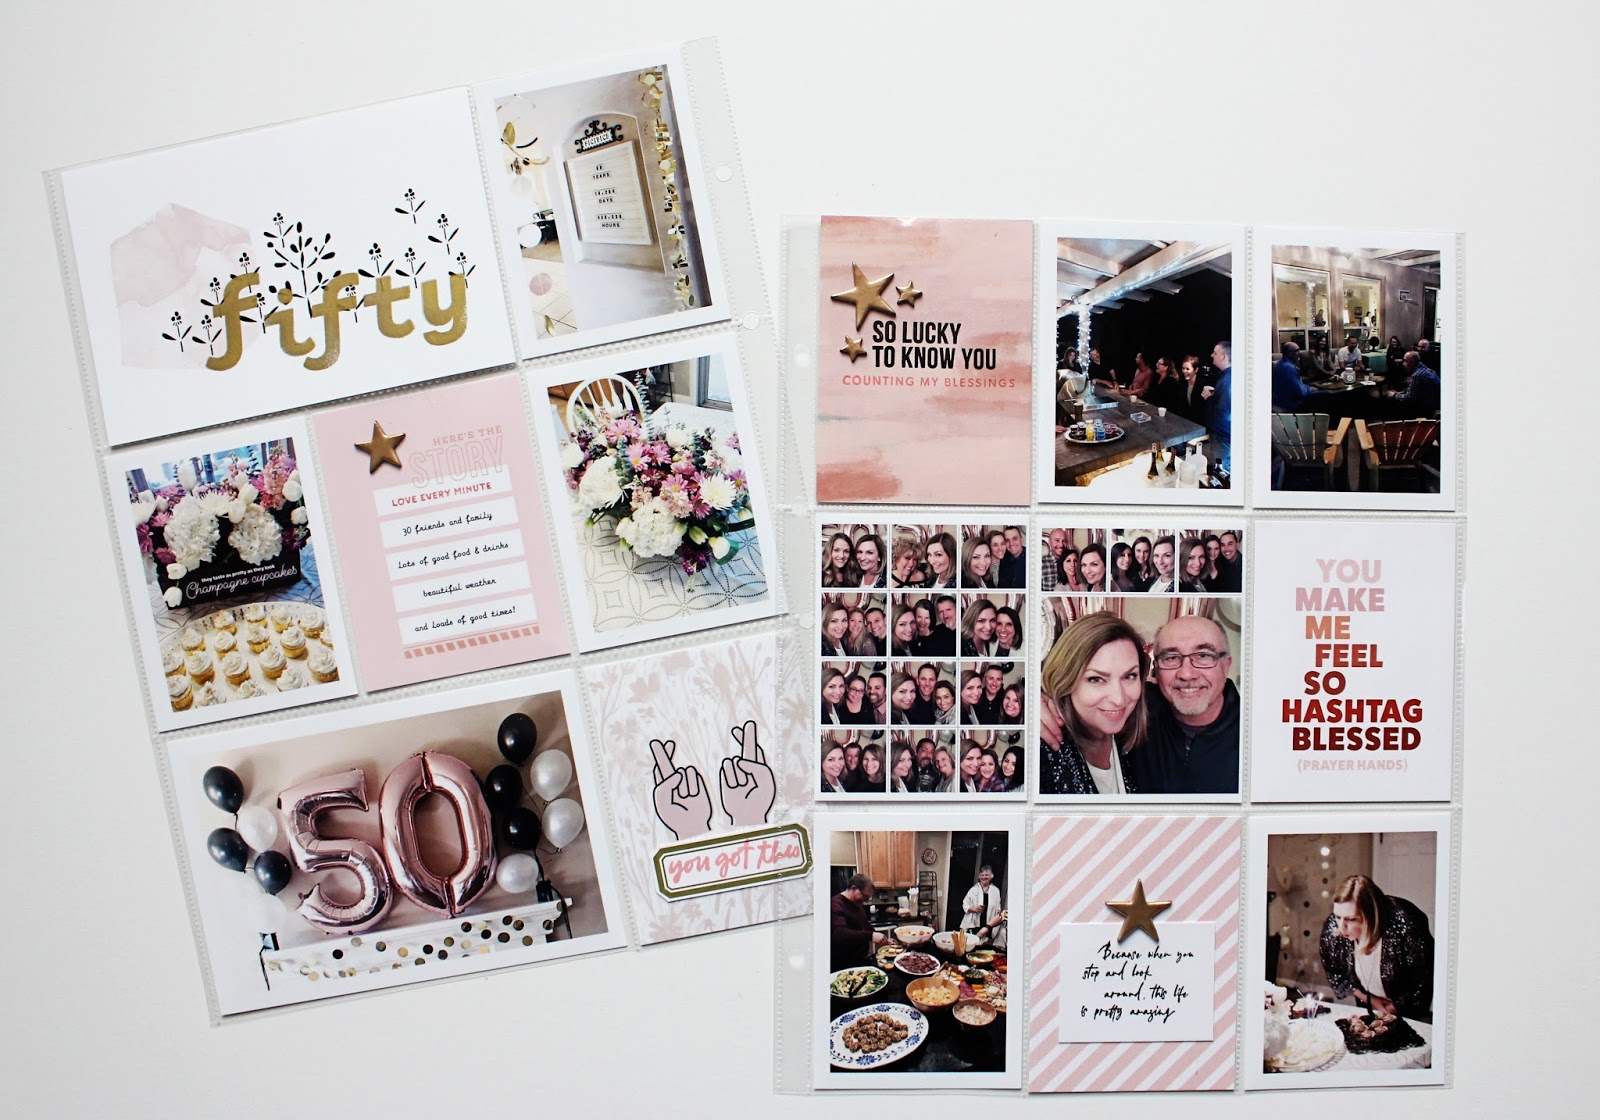
That all being said, my plan for the year is to sit down at the end of each month go thru my photos and pull out any that I think I might want to use. I copy those photos to a separate file on my computer and start to plan. I use planning sheets to map out what will go where just so I can see it visually before I start. For example, I pulled 36 photos for January but I ended up using just 25 of them this month over two spreads. I feel like that's a pretty high number for two spreads especially for 9x12 but I maximized a few by using collages and at the end of the day I will always choose a photo over a filler card.
I'm not setting any parameters for the year, I'm going purely on what speaks to me and what photos and events I feel summed up our month the most. If we travel and I have more to include then I will, no rules.
Before I share the spreads I do want to mention that I have not done a title page yet. I did my 2017 title page really late in the year and found that I loved including photos of us from the year. So my plan is to set aside favorite photos as the year goes and make it when I have enough to do so, probably some time in the fall.
Here is the first spread of the month, it encompasses photos from the first thru the sixteenth I believe. I dated some journaling but for the most part I don't date each photo. I'm not too worried about specifics unless I think its important to include. These two spreads have a lot of pink in them which is totally okay for me. I mixed in a little bit of this and that and tried to add in the newsworthy/pop culture references that I have always loved to include.
One thing I noticed as I was putting these pages together was that I'm using a lot of the saved Insta Stories I have posted. I love how these looked and I love how they have text and captions built right in so I don't have to do a lot of typing on photos like I have in the past. I made sure to fit in longer stories where they were required but simple captions are okay for most of the photos.
I'm not too worried about the title cards being super consistent but I do like the simplicity of this one. It also allows me to use up my large stash of alpha thickers so I may keep it going this year.
The second spread covers the twentieth to the end of the month. I always love adding in some of what I'm reading, watching and seeing so I will continue to make sure these get into the spreads.
Collages really saved the day for me and since I don't typically take horizontal photos, it was a much easier way to fill the 4x6 slots with vertical photos and it allowed me to get a few more photos in.
I used quite a few digitals from Paislee Press on this spread and two journaling cards from In A Creative Bubble as well. The rest are form Studio Calico from some current and past kits.
So January is done. I look forward to keeping up on this a bit better than the past few years and I think the more simplified approach will definitely help with that.
Thanks as always for being here!