Thursday, January 28, 2016

Featuring Kelly Purkey │ January Release

Hello everyone, its release day over at Kelly Purkey's Shop today and I wanted to share with you what I've made so far with this months latest stamps and kits.

The first thing I made was a Project Life® spread for week three. I used the a mixture of cards and stamps from the main subscription kit, High Five and the Mini in Minutes kit, Life Happens. I also mixed in some of the stamps from the You're A Life Saver stamp set.


Working with the 9x12 size is really working for me. I am loving having the 6x4 slots to fill with larger photos and I've even started taking some in that orientation now that I know I need them. Typically I take all of my photos in the vertical orientation, I know its not 'normal' but its what I like the best so there you go.

I really loved mixing the mini in minutes cards with the kit cards and of course all of the stamps. I especially love the bright red and pink cards in mini kit that was designed by Anne Marie Espinoza this month. That little dotted curvy arrow stamp is just the cutest!


I also really loved adding the alpha stickers that Kelly is including with the kits to my spreads. I have been a fan for awhile from way back in the day when Kelly had released these before. They really are the perfect size and font to add to pocket pages. 

Oh and if you haven't yet watched Adele's Carpool Karaoke, stop what you are doing right now and watch it. I've watched it several times already and when I saw the article online that I added to my album saying they had enough for a full hour episode I died, I would totally be up for that, just sayin'.


My second project was adding some of the stamps and cards to my planner. I have several planners that I like to play around in just for fun but for my day to day planning this year is being done in a Get to Work Book. Because some of the stamps this release were so appropriate for Valentine's day I decided to decorate my February monthly calendar. I used stamps from the You're a Lifesaver set, the Life Happens set, and the High Five set. I also mixed in some of the Clearly Kelly Planner stamp sets; Special Occasion, Travel, Food, TV, Sports and Appointment. I also used Kelly's inks which are amazing for stamping in your planner. The sets I used are; Coffee and Donuts, Urban and Fashion. I love the grey ink in the Urban set. Its nice to have a dark color that's not black. Its like a soft black and I love it, its not to dark but just dark enough.


A few people asked on Instagram when I posted a sneak image how I added the pink and red heart card to my planner. I saw someone post this idea on Instagram awhile back and I'm sorry I don't remember who that was but they used an old Bind It All Machine and punched the holes. I happened to have one too so I used it the same way. After I punched the holes I clipped little notches so that I could add it and remove it from my planner. Here is a better look at that so you can see what I mean.


I love the pop of orange when the card is flipped over. Here you can see that I layered the alpha stickers to create a shadow effect, I just laid down the black stickers first and then added the white on top just a bit off center so the black showed.


I used one of the cards from the main High Five kit to make a list that I can clip into my planner. That little dotted arrow stamp, I tell you its super cute!


There was also a alpha stamp set, Williamsburg that is perfect layered underneath the Greenpoint alpha set that I haven't had a chance to use yet, but its super cute so make sure you check it out.

I hope you enjoy the release, its another great month for sure!
blog signature 012615

Friday, January 22, 2016

Featuring Color Cast Designs │ December and January

Yesterday was new release day at Color Cast Designs and I just realized that I haven't shared with you the pieces that I have made recently so I wanted to catch you up. I'll start with the latest release since that went live yesterday. As you can see above there are lots of great items appropriate for Valentine's Day which totally inspired my first project.


This layout was inspired completely by the large red glitter piece in the Crazy Love set. I knew I wanted it to be the focal point of my layout so I designed it all around that one piece. I printed the quilted background using my Silhouette Cameo and the sketch pens. I had visions of hand stitching it but I wasn't going to have time to sit and do all of that. Thankfully the sketch pens worked out great as another option. I used the gold glittery pen here and its really pretty in person. I made the vellum envelope myself using vellum from the Studio Calico Brighton Pier release and the We R Memory Keepers envelope punch board. Man I love that tool, I use it so much. The Kraft chipboard tags were found in the Dollar Spot at Target as was the red and white cording. The tags came with black and white cord but I liked the red and white better. I layered everything so it looking like it was spilling out of the envelope and then placed the red glitter hearts and some of the older white outline hearts. I really love the white glittery hearts from the Good Times set and I also added in a few of the white outline hearts from this Wonky Hearts set. I love how this turned out.

The second piece I made was the Project Life® spread that I shared on Wednesday. Here it is again so you can see it.  I used the following sets on this spread Adore You, Good Times, Must See TV, and Better Me. I love how versatile these sets are, they are so easy to split up and use in many other ways then just all together on one project.


From December's release I made two layouts. This first one is a real favorite of mine for sure. We had a party at our home on New Year's Eve and I hung up some decorations in my home that were really long strands of floating elements that were hung on clear fishing line. They ended up being the inspiration for the layout and the Hello 2016 set was perfect to mimic my decorations.


One of my favorite cut files from the Silhouette Store is this set of 3D sequins. I decided to try to cut them out of photos and it totally worked. I also cut some smaller sequins out of gold and silver foil cardstock from Michael's. I hand stitched the gold stitches so it would mimic the fishing line of my decorations and then just alternated the placement of the acrylic pieces and the photos so it was evenly balanced. This layout is full of dimension and it was really fun to make.

I love the gold mirror acrylic and I think its so cool that it was in this set. I saw a lot of gold mirror pieces in some of the new lines presented at CHA so I'm happy that this trend will stick around for awhile.


My second project was this layout featuring the Let it Snow snowflakes. We don't get any snow where we live in California but we did go seek it out one day this past December. I wanted to make a separate layout of this great picture I snapped of all three of us even though I had already featured it in my December Daily. I used my Silhouette Cameo again with the sketch pens to draw in both silver glitter and red a series of scattered snowflakes that are designed to be sketched and not cut. I know snowflakes aren't red but I wanted to pull a bit of red into the layout since its so prominent in my main photo. I love the contrast and I think it still works. I then layered the photos on top of each other so they would flip up and sewed them into place with my sewing machine. I love how this turned out. I did crop the top photo so it would have the point when cut and laid that our in Photoshop Elements. I then layered the acrylic snowflakes to add more dimension and added in a title using some old foam glitter Thickers that I had on hand.


Here you can see the photos flipped up. I added my journaling on top of the last photo before I printed it out.


I loved this technique so much I even replicated it in my December Daily on a smaller scale. You can see that example in this post.

I hope you enjoyed the items in this release, I know a few items have sold out but for the most part everything I mentioned above is still available. I hope you have fun creating with everything you purchase.

See you soon,


blog signature 012615

Wednesday, January 20, 2016

Project Life® 2016 │ the beginning


Admittedly I did a horrible job sharing and completing my 2015 albums and I have a lot to catch up on for sure, especially the last part of the year. That being said there was never really a minute when I thought about not doing it this year. Working on my class for Big Picture this past November really got me super excited and it revved up all of the creative enthusiasm that I have for this project. I love it and I don't want to stop. Its as simple as that. There are a few things I plan to do differently this year though so I wanted to share them.

The first big change for me is to switch up the size. I just could not do another year of full 12 x 12 spreads. I think that's what burned me out last year. It was just too much and just too hard to fill week after week because I'm just not snapping as many day to day photos as I have in the past. I think that's due to a few things; 1. my daughter is at school for 6 hours each day, 2. I'm busier doing design team work and other creative projects so I'm working more and playing less and 3. I just needed a break from my camera/phone. I mean lets be honest it gets a bit old sometimes, for myself and for my family and friends. So that brings me to 9x12. I bought two of these albums from A Beautiful Mess last year on sale and I really loved them. That inside yellow give has me at all kinds the heart eye emoji's. I played around with a few spreads last year using the 3 x 3 page protectors and I really, really loved them. My plan this year is to use an all 3x4 protector and a 3x4 and 4x6 protector each week. I'll mix in full page 9x12 layouts and some 3x3 pages when I want, probably as inserts. I purchased some additional page protectors at Studio Calico because the protectors from A Beautiful Mess were sold out. Studio Calico just released new albums that have the same ring configuration so I'm glad of that, more options for supplies is always a plus.

That brings me to my title page shown above and below. I used the one I had created for my Big Picture Class project as a jumping off point. I pretty much left everything the same except I switched out the photos to more current ones and changed up one filler card. I loved the way colors worked with the inside cover of the album, I think it really pops. The family photos were the most current ones that we took this past November. They were shot by my friend DeAnna, if you are local and need a good photographer I totally recommend her. She's done our photos the past two years and I love them. I added in some vellum hearts and a rubber banner from Studio Calico and the filler card at the bottom will be released by Kelly Purkey at the end of this month.


My first spread of the album took a turn that I have never done before. For the past six years I have always started January 1st. This year though I decided to start on December 31st. I made this decision for two reasons; 1. the spread would have been super short, only three days which meant I wouldn't have had enough photos and 2. I wasn't sure if I would ever get around to adding these photos to my 2015 album and I really wanted to share them. So there you go, I now had enough photos to fill a spread and I'm sharing photos from a super fun party that I wanted documented.


I used a lot of cards from the December Lollipop Guiled Studio Calico kit, I especially loved the 2015 and 2016 cards and they worked great on this spread. Some of the accent pieces like the black chipboard came from the Tin Man Embellishment Kit. The rubber banner I used on my title card is also from this kit. The celebrate acrylic piece and stars are from Color Cast Designs.


One thing you might have noticed that I doing different this year is I am making the borders on my photos thicker. I love it and I'm pretty sure I will keep it up all year. Its a small change but one that keeps things fresh and different and fresh and different is always a good idea. If you are wondering the borders are now half inch so the photos are cropped to 2.5" x 3.5" this year.


My second week was kind of all over the place. I was super sick so I had hardly any photos so when I sat down to work on them I was pretty worried. When things like this happen and I feel like I don't have a good mix of photos or a good jumping of place to start with colors or things like that I tend to simply and unify the photos as much as possible. You can do that many ways but my two favorite ways are to edit the photos to black and white and add in pops of color or you can create a template and crop the photos all the same size so they are all cohesive. I opted to create a template for this spread and I think it definitely helps give it an interesting focus when the photos themselves might not seem super interesting. Adding in a few filler cards to help tell the story also helps fill the gaps you might have photo wise.


Here is what the photo template looks like and if you are interested in using it on a spread this year, you can download the template right here.


I added in quite a few embellishments from Color Cast Designs that will be released tomorrow during her shop update. You can find a link to Jessica's store right here. I love adding her pieces to my spreads and they always help bring in pops of color and help tell my story even more. She has such a wit about her and so many of the phrases she uses have me cracking up.


My plan is to continue on a weekly path as the year progresses and I'm so looking forward to documenting this year. Like I said above, I  might switch up the protectors from time to time and I might get loose with my date ranges based on the number of photos I have so don't expect rigid consistency as far as dates and spreads go. That being said, I look forward to sharing the year with you and I'll see you soon.

blog signature 012615

Tuesday, January 19, 2016

Featuring Clearly Kelly │ New Planner Stamps

Hello everyone, today I wanted to share with you some of the new planner stamps from Kelly Purkey and Hero Arts. This new launch of planner stamps was featured recently at CHA (Craft and Hobby Association) trade show in Anaheim, CA. There are seven new planner stamp sets, three wood mounted stamps two of which are sized to stamp on post its, an alpha and die set, a 2016 stamp and cut set and a label and die set. You can see all of the new items up for pre-order right here.

Here are some samples of ways that I used the stamps. The first is by dressing up the wall calendar that hangs over my desk. While they are perfect for stamping inside your planner, they also work great for stamping on any calendar you might have.


I love that this release has a sports set, its going to get a lot of use around here with a little one that plays soccer and is about to start up basketball. I also love the 2016 set of stamp and cuts, I especially love the twenty sixteen stamp and the today stamp.


My next project was using the super fun stamps sized to fit onto 3x3 post its. How cute are these stamps! I thought it would be cute to make up a little chore chart for my daughter so I stamped the grid stamp in a light gray ink not worrying to much if it overlapped to create a place to put the post its. My intent is to just re-stamp the post its each week using the Don't Forget stamp and fill them in with the tasks. My daughter is actually very excited about this, I think the bright happy colors help for sure.


I can't wait to get stamping these into my planner this year, here you can see all of the new planner sets.


I really love that travel set, it totally makes we want to jet off somewhere fun.

Kelly's next release of stamps and kits will hit her shop later this month, I have seen the stamps and I'm super excited to get busy with them. Make sure to sign up for her newsletter, she will provide the exact date of the launch there and of course on IG too. You can sign up for the newsletter at the bottom of her website right here.

See you soon,
blog signature 012615

Thursday, January 7, 2016

December Daily® 2015 │ Days 21 to 25 and the end

It's done! A bit later than I would have liked but its done. I sat myself down yesterday and finished the last three days and the ending and I couldn't be happier with the way it all turned out.  This is going to be long with lots of pictures so lets just get to it.

Day 21

We tend to wrap gifts all at once in one day and I find it easier to do it that way than to start and stop and start and stop. I like to crank up the Christmas tunes and have at it.


I added two journaling cards from In a Creative Bubble and two photos and it was done. Super easy!


Day 21b

This isn't dated and it didn't really happen on the 21st but I wanted to get this Starbucks cup, bag and two photos in there somewhere so I just added it in here. I trimmed the bag down and sewed the photos down similarly to a layout that I just finished that I will post shortly. The stamps I used are from Kelly Purkey its called My Daily Grind and they are currently on sale. If you are a holiday Starbucks lover, this stamp set is for you.


Day 22

I shared this in my last post but I wanted it also in this post for consistency sake. The Metropolitan alpha stamps are from Kelly Purkey as are the numbers. They are super, super cool.


I used one of Ali's 3x8 inserts for this and just covered up the holes with washi tape and re punched the holes to match my album. I love these protectors, they are a super fun size.


I added a photo to the back and love the height it gives the photo.


I embossed the wood snowflakes with white embossing powder that I added some silver glitter too. It turned out really pretty. I used the Tim Holtz Tonic scissors with the red handle to cut the veneer in half. They worked really well for that. I did file down the edge with a nail file to smooth out any rough bits before embossing them just to make sure there weren't any sharp edges.


Day 23

Baking day is always something to look forward too. We make the same type of cookies every year for Santa and paint them with an egg wash paint. Its something I did as a kid with my Mom so its fun to carry on that tradition.


This year I remembered to get a nice clean shot of the cookies laid out when they were done and added in one of my husband and daughter painting. I added in a journaling card of the gingerbread man from Kelly Purkey's mini kit and one from Ali's main kit.


Day 24

Christmas Eve is always busy so I added a bit more than I normally do. The protector on the left is about our evening at church and the journaling card is one that I made using an older piece of Ali's word art.


I really wanted to use that Merry and Bright card from Kelly Purkey's mini kit so I added it in here as a transition from the church portion of the night to the getting ready for bed portion of the night.


On the back side is a photo of my daughter in her new jammies. Another tradition my Mom started with us when we were kids that I carry over. And of course a photo of leaving the cookies and milk out before bed. I really had to edit this one because she was not having it with me taking lots of photos that night so I had to go with the best of the best and make it work.


Day 24B

Another filler space because I really wanted to add in that letterpress December calendar from Studio Calico and was quickly running out of days to get it in. I also wanted to use that transparency sheet so in it goes. I trimmed off the original holes and re punched my own to match the album. I added in one of the tabs and I'm so glad that I bought two sets of these. They are one of my favorite things this year. For the photo on the left I added in an old piece of word art from Ali and just printed it out.


Day 25

I backed the other side of the December calendar with a photo that I actually took after Christmas, but it was one that I loved and it really works here so in it goes. I pretty much followed the same formula that I used in last years album. I added in a 3.5" x 8" inch piece of heavy weight vellum that I typed my journaling on to. I always need lots of space to get the whole story of the day down and it never fits on one journaling card so this has become my go to solution for telling the full story of the day. I added in another tab and my number and it was done. The Merry Christmas word art at the bottom is from In A Creative Bubble.


I even used the same template as last year. Its a template from Ali Edwards and it just seems to have the right amount of spaces for the day. I don't worry too much about getting every photo in so this works for me. As long as I get the high points and at least one photo of the whole family I'm happy.


My album ends are always different. Sometimes its a photo from Day 26 or some journaling or something, it varies. This year because I didn't include any of the photos of our Elf Twinkle I wanted to make sure I got them in somehow. Last year I added collages every week that you can see here, here and here. I loved that and thought about doing it again this year but we went out of town and my Elf days weren't as consistent as last year so I just decided to wait and do one big thing instead. While I was gathering my photos I realized I missed snapping a shot one day which really bugs me but I can't go back and redo it so it is what it is.

Here is the front of the little fold out that I made to hold all of the photos. Its just over 4" wide and 8" tall. I used my new Minc machine that I got for Christmas to decorate the front and man do I love it!! I added a tab on the top but cut it in half so I could have a different tab on the backside.


Here you can see how amazing the Minc looks. I opted to use the red foil and I love it. The file that I used was a brush set from Ali Edwards and there was also a stamp set of many of the words in this set. How lucky for us that our Elf's name just so happens to be Twinkle.


When you open it up you see all 20 images that I have of our Elf. I also added in the Twinkle tab to the backside of the Moments tab on the front. To make this I set up a template to hold the 20 images that I needed and just ran them across and down the template. The two columns on the left that fold out are printed separate from the 12 photos on the right. I did this so I could easily fold the piece and photo paper doesn't really fold that well. I added in the circle numbers that I made so the days would be labeled. I made the fold out but creating a hinge out of a piece of cardstock that was about 1.5" x 8" and that is underneath the photos but on top of two pieces of cardstock, one that is 6'x8' and the other is the cover that is 4"x 8". I plan to add in envelope at the very end where where I save all of my gift receipts and all of the little notes that Twinkle leaves for my daughter. Its fun to save that kind of stuff each year and look back on it.


To finish off the album I created a label for the spine, super simple just like last years. The year and a little star. I did decide to leave the cover plain and let the shiny gold take center stage.


Another year, another completed December Daily. It was so much fun as always even though I felt like I was floating thru this month. It really was a total blur.

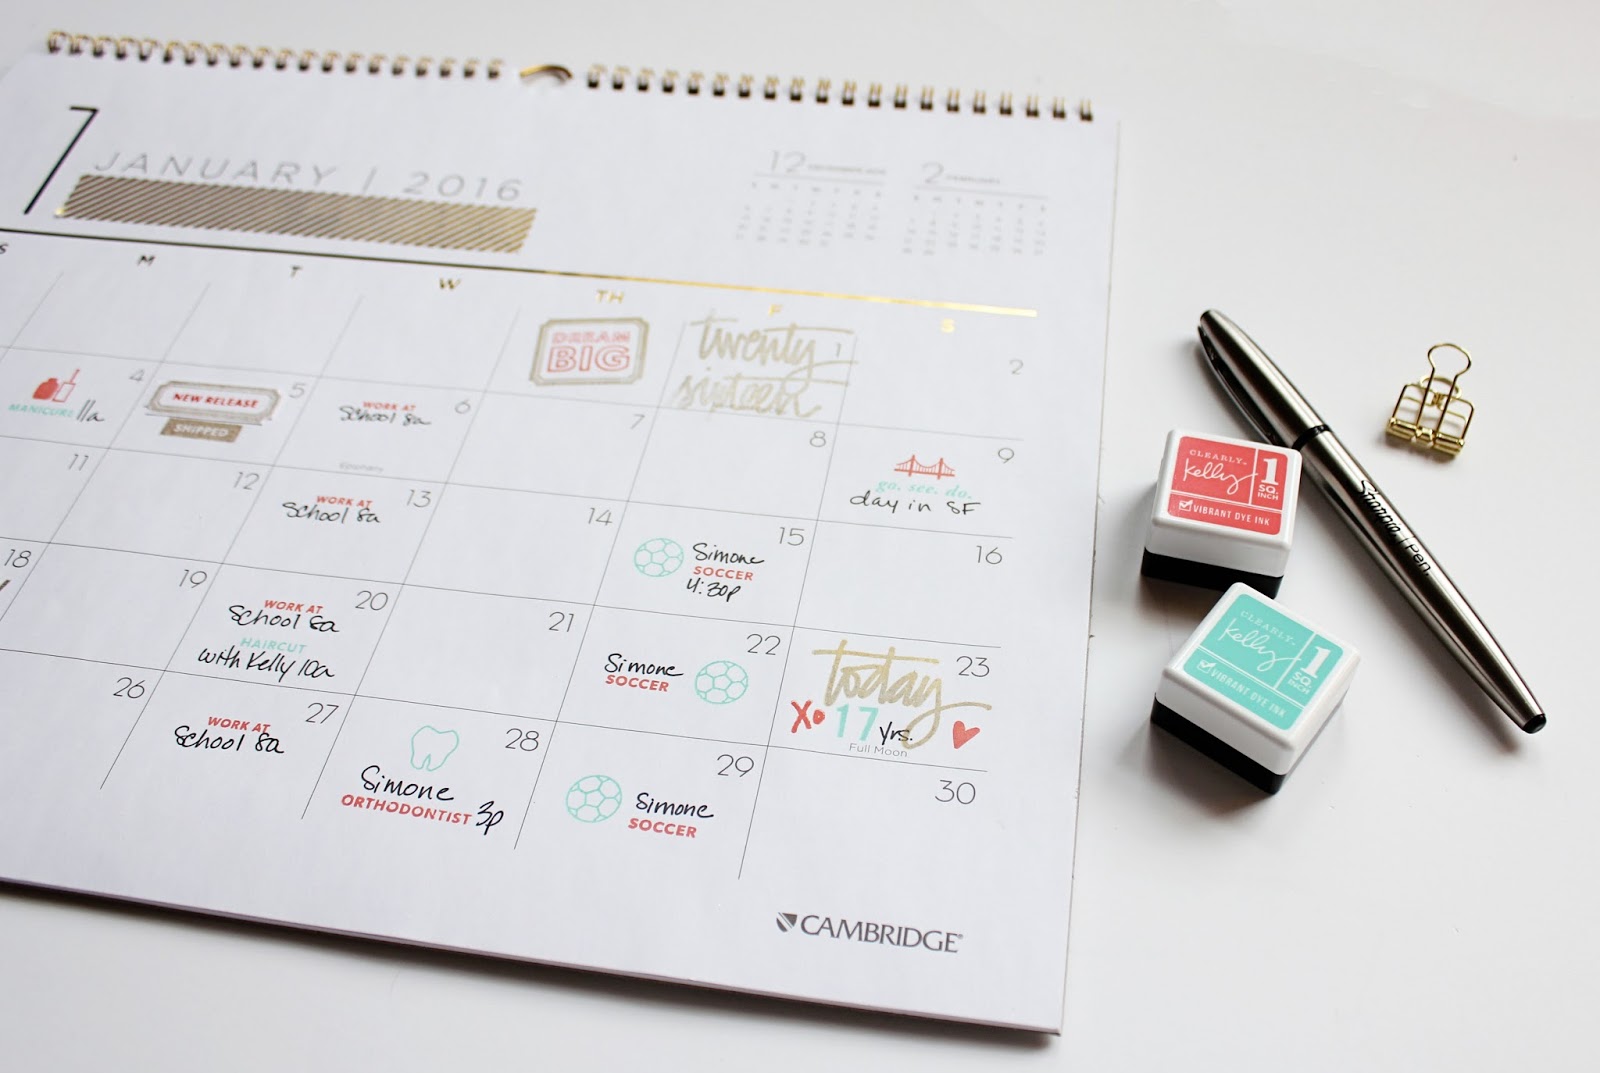
I'm excited to put this away and get started on my Project Life for 2016. I'll be back soon to share more on that for sure.

Take care,
blog signature 012615