
These instructions are for the basic flip ups that I do. I will do a separate post for the one I just made turning 2 3x4's into a 6x4 very soon.
Here we go!
1. Depending on the pocket you are making the flip up for you will cut your cardstrock to either 6" x 8 1/8" or 3" x 8 1/8". The extra 1/8" allows the flip up to sit all the way into the pocket and fold over flat. I use 110 lb. cardstock for my flips, I wouldn't use anything thicker than this because it will only add bulk to your pockets and it won't lay flat.
I will say that in some cases the 3 x 4 slots are a bit tight if you use the full 3" width so if you want to shave off a bit here feel free. I usually will take off just an 1/8" and it slides right in. It's completely up to you if you want more ease or if you want your inserts to fit tight.

2. Fold each piece in half and using a bone folder really press in the creases.

3. You will have three sides to decorate with either paper, journaling or photos. As you can see here, you'll have the inside top and bottom as well as the outside.


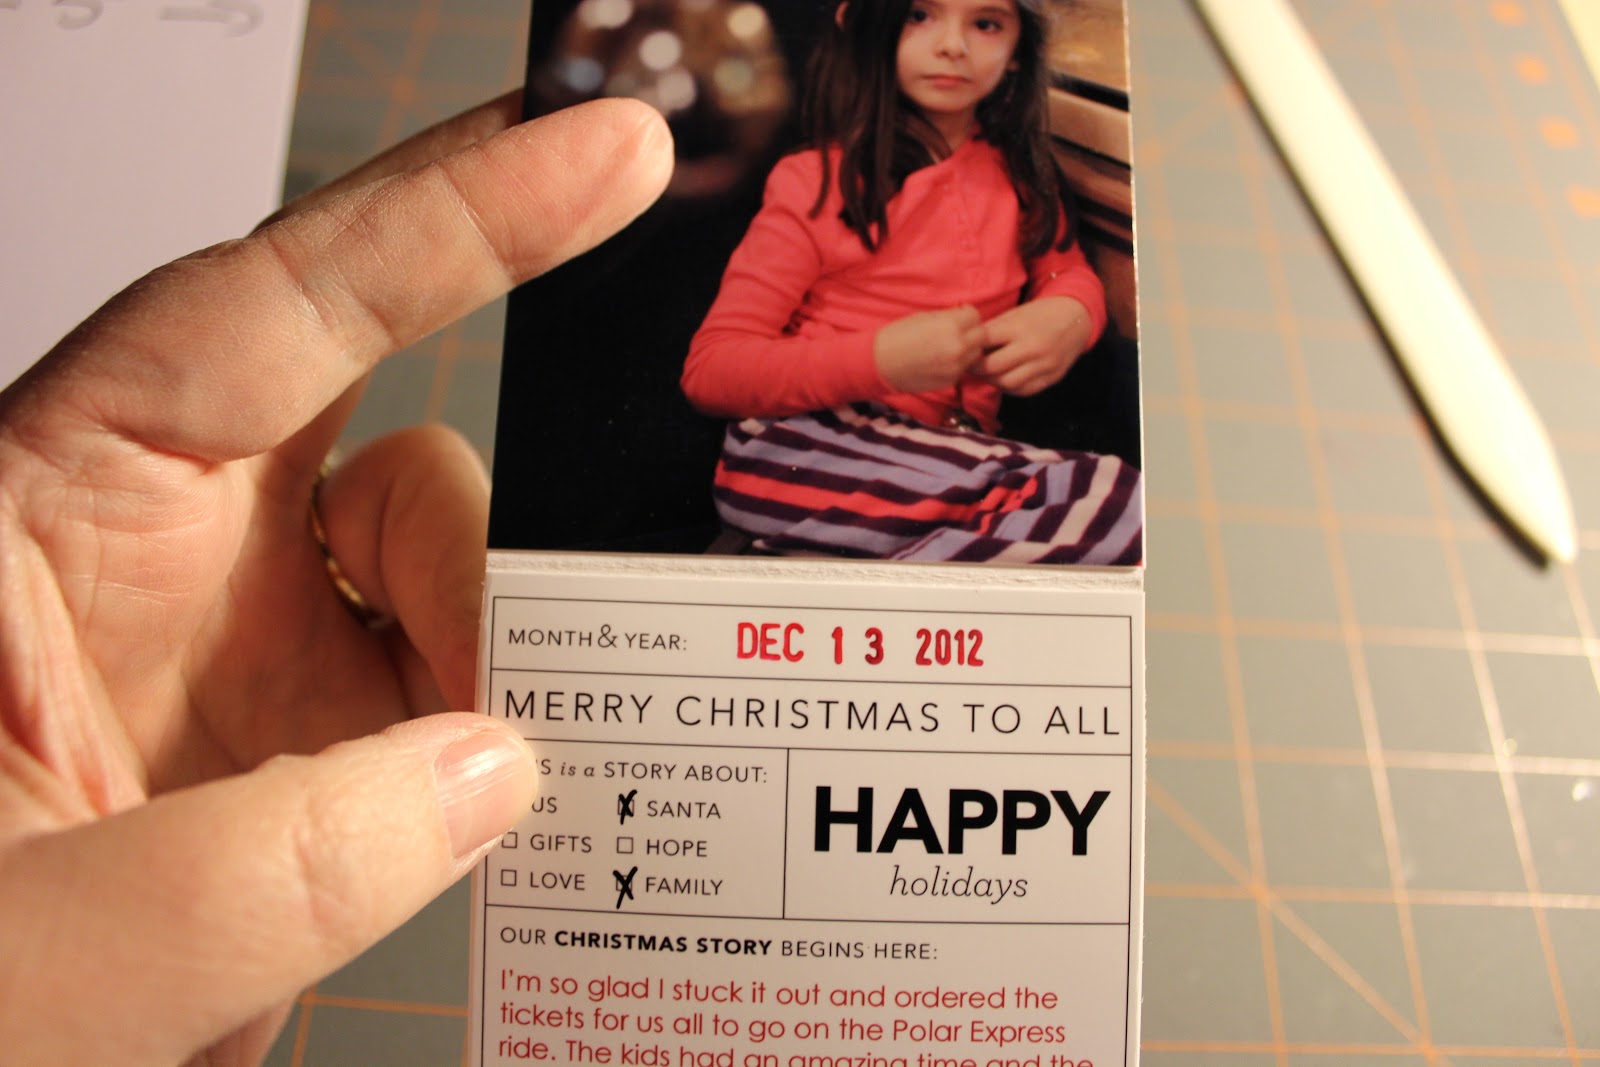
4. Print out your photos and if you are rounding your corners do so now on all pieces, the photos and the flip up base you have created. As you can see here, on one of the flip ups I made for Halloween, I've rounded the bottom two corners only of the piece that will go on the outside. If you round the corners on the top edge you will see the white flip up.

5. You'll then round the top two corners of the of the photo for the inside top and the bottom two corners for the inside bottom.

Here are photos of the same steps for a 3" x 4" slot


6. Once you've rounded all your corners you will adhere the photos to the cardstock base; the outside, inside top and inside bottom lining up the rounded edges and sides.
7. As you'll notice there is a very tiny gap between the inside top and bottom pieces. This allows the cardstock base to fold, you'll want to keep a small gap here so make sure you trim your photos to the true size and do not add length here.
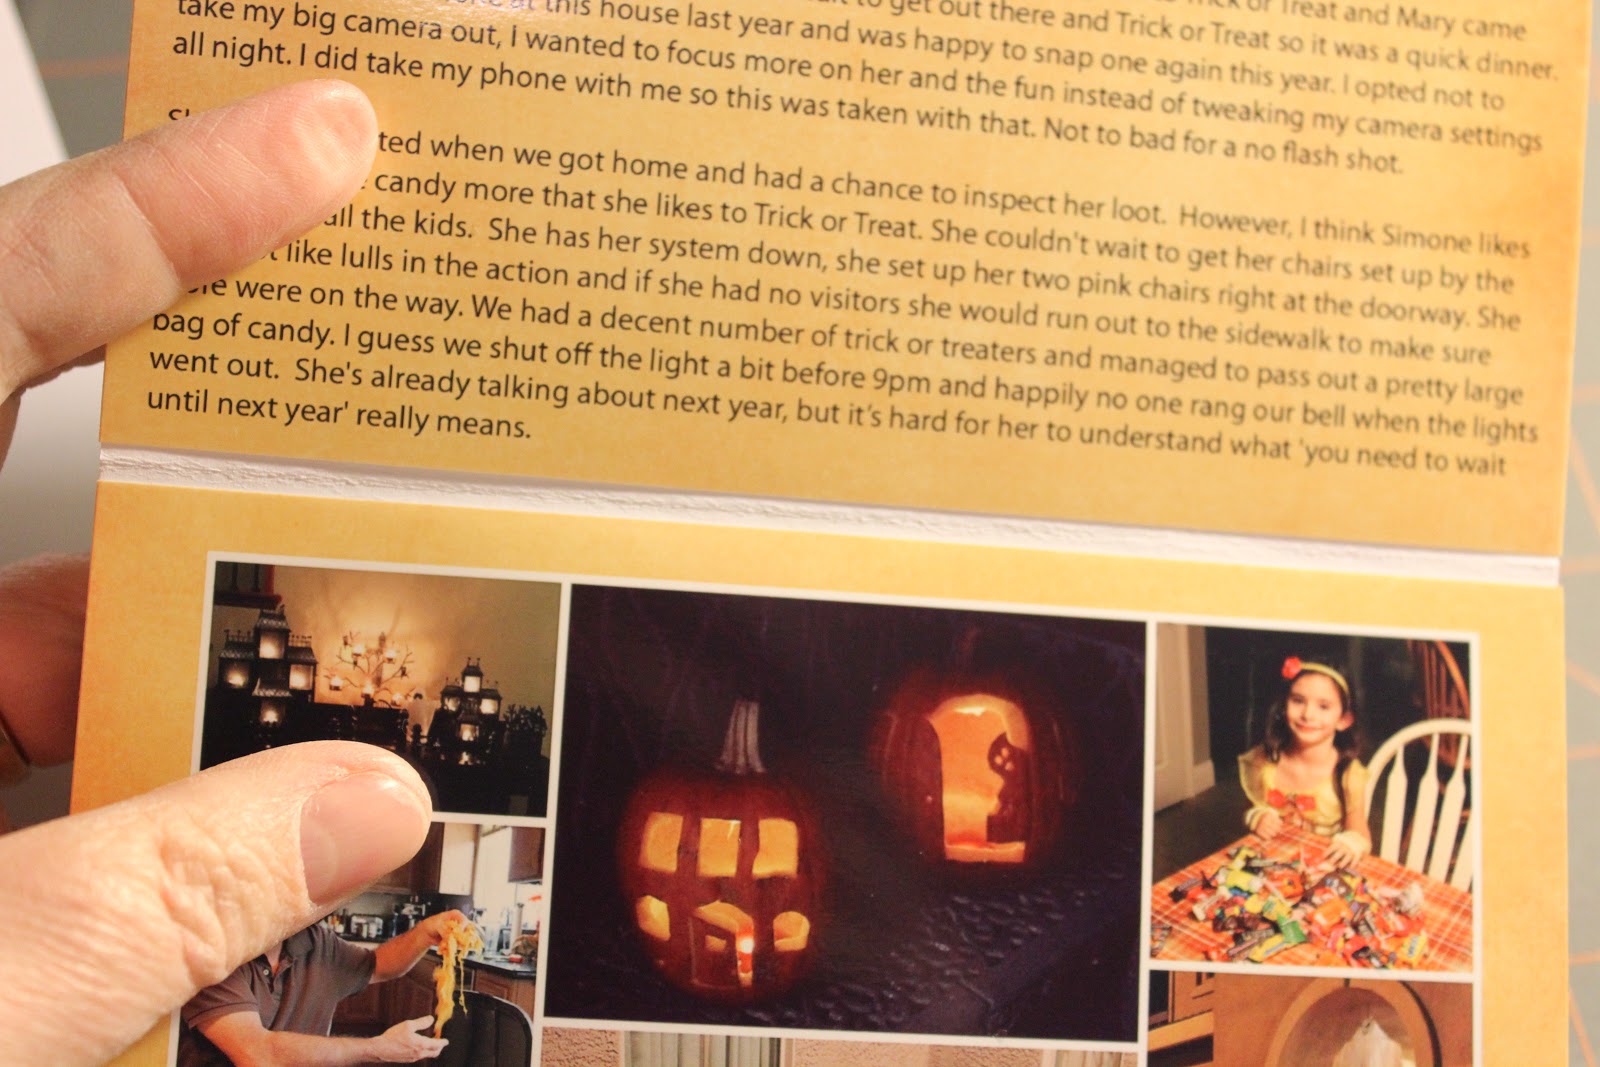
8. Once inserted into the pockets you'll see here that they fit inside exactly and that extra 1/8" is not noticeable at all.


One thing I want to add is since there are only openings on one side of Becky's protectors this method works best on the right facing pages. In the past if I wanted to create a flip up for a pocket on the left facing page all I did was adhere the flip up to the outside of the page protector with double sided tape.
I hope you'll try it, it's a fantastic way to add more photos without having to create a whole insert.
Please let me know if you have any questions.
I love this idea. Thanks for sharing!
ReplyDeleteGreat idea!
ReplyDeleteTerrific idea
ReplyDeleteI didn't know you blogged you project life stuff. I have enjoyed reading your posts, you are very inspiring.
ReplyDeleteThanks for taking the time to show us this. I need to get more creative with PL to avoid so many inserts and to keep from getting bored.
ReplyDeleteAnd I'll say it again....I just don't understand why you are not part of a PL design team.
I do flip-ups too and agree... they are a great way to add extra photos or journalling... or I've even done it to "hide" a photo I want to include but who's colors or subject matter are distracting to the overall spread.
ReplyDeleteThanks for posting a "how-to"! I've done your flip design a couple of times & direct people that ask me about it to you. You are a GENIOUS!!!
ReplyDeleteso so awesome!! going to give this a try!!
ReplyDeleteThese are great. I have done things on the left side where I really REALLY needed it to have the slit on top, so I just carefully used an exacto knife and cut a slit. I was nervous the first time, but it worked out perfectly. I wouldn't do it to all of them, but the one didn't affect stability at all.
ReplyDeleteThanks so much for your step-by-step.
ReplyDeleteI am definetly going to give it a go.
Awesome. I just did this in my last spread. Love it. You can see it here: http://www.table-for-five.com/project-life-week-5-part-1/
ReplyDeleteLooks great, but does the top part (that flips over) have a protector over it?
ReplyDeleteThan thank you! It does not have a protector over it, so far mine have held up just fine without one.
Delete