

Welcome to Sandlot, Studio Calico's August Project Life® kits. Like I mentioned in my sneaks post I made four different projects with this months kits and the kits were so much fun to play with. The variety was amazing and I really think these kits will appeal to everyone.
Note: reminder that all links below will work for subscribers as of now 9:00am PST and tonight at 9:00pm PST for non subscribers.
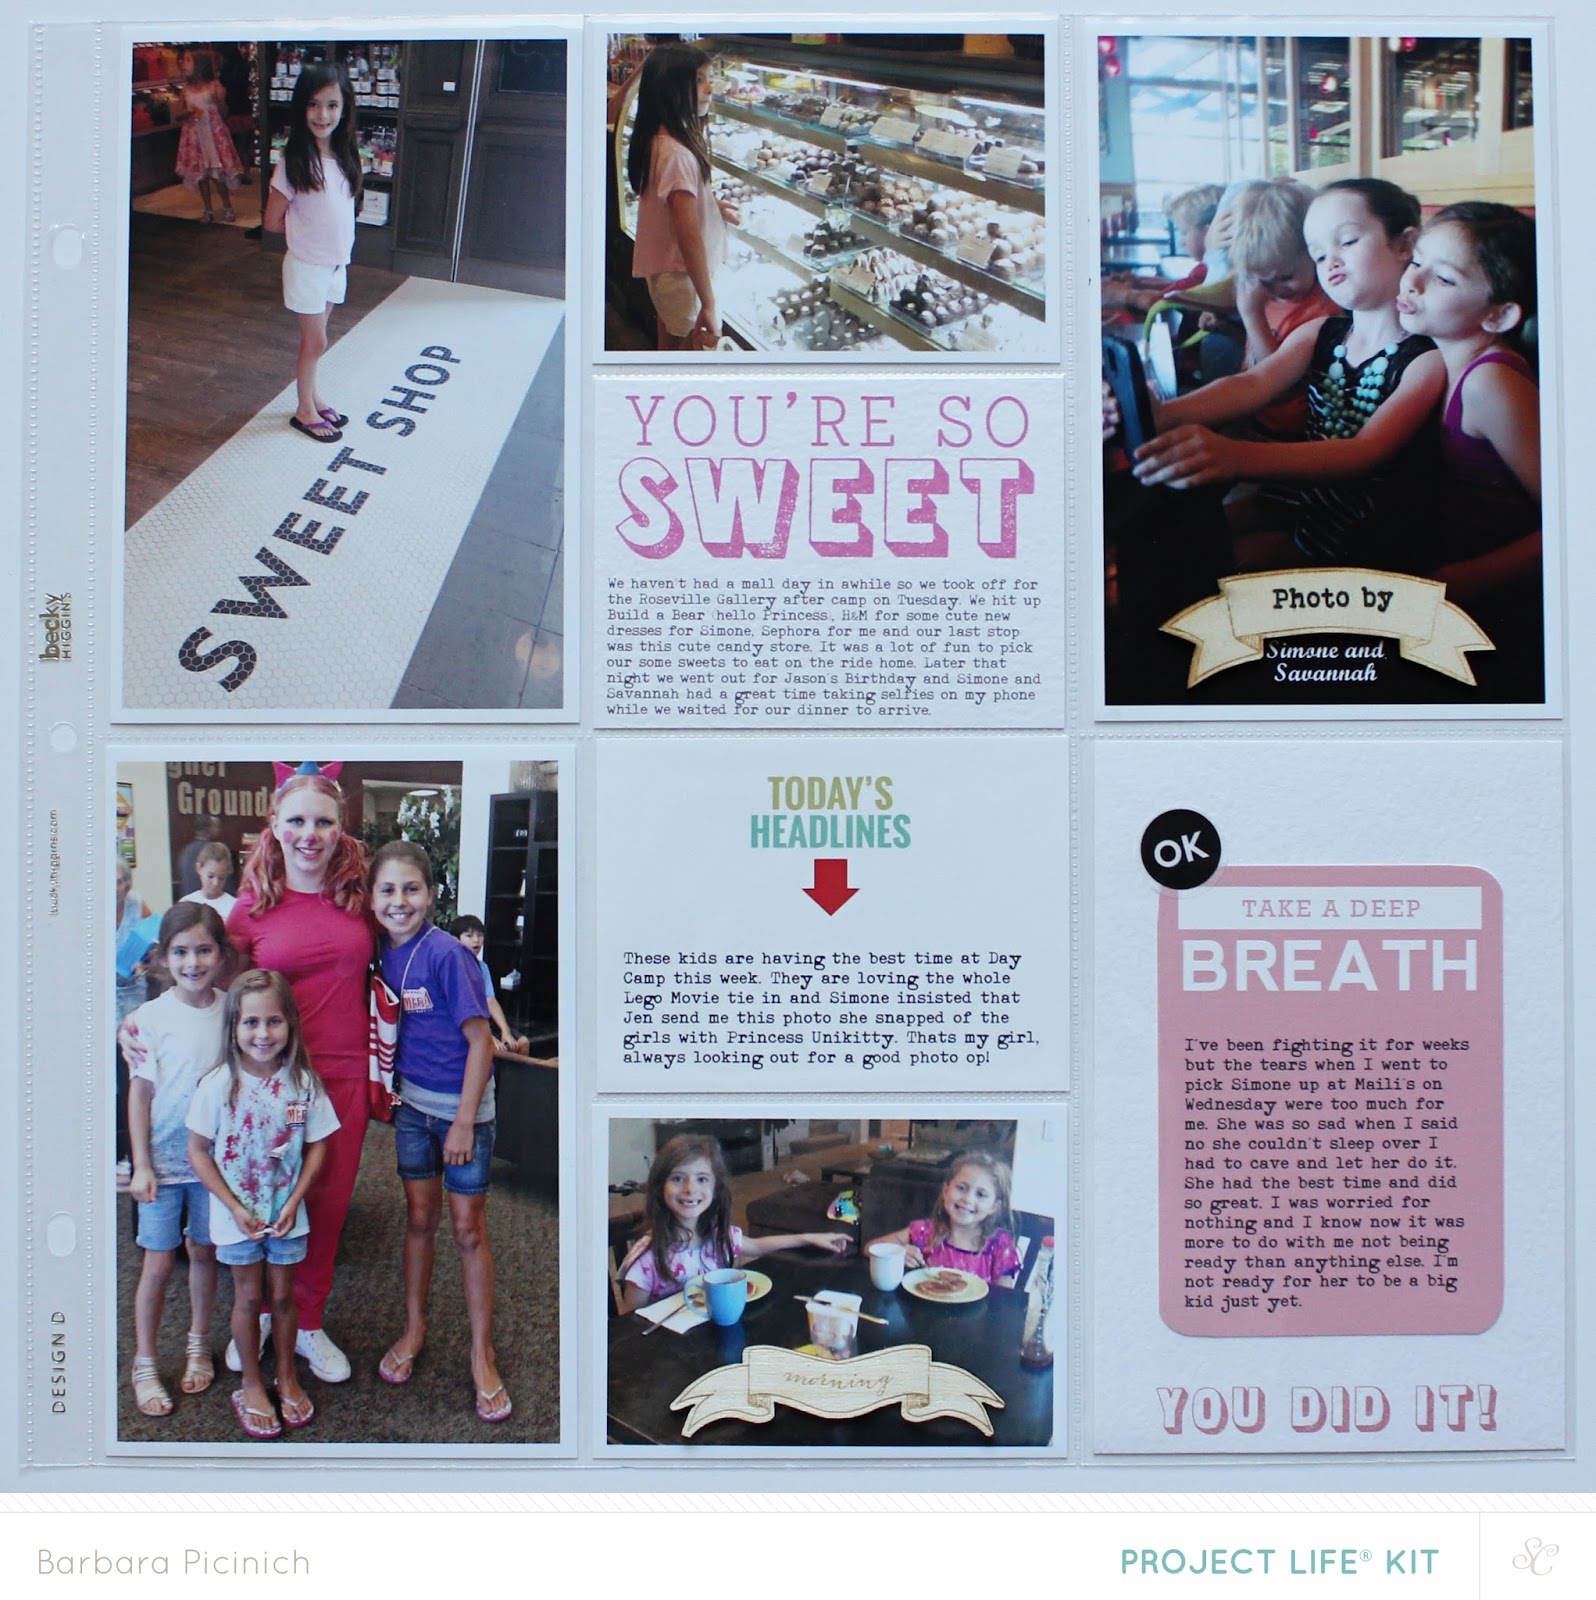
My first project was my Project Life® week 28 spread

I had a lot of fun playing with some of the digital files to make my own filler cards this month and I really loved the background cut file that Paige designed. The 4x6 version worked great for my title card, I just cut a few small circles sized to match the die cut washi tape and placed them over the center sections. Unfortunately some of the items in the kits didn't arrive in time for the creative team so I didn't get a chance to play with the clear plastic tabs, the die cuts or the silver alpha but even without them I ended up really liking my spread.


My second item was my Volume Two title page, I loved these who, what, where, when cards in the Yeah Yeah addon and they seemed like the perfect fit for a title page. I just added some simple labels and the brads also from the Yeah Yeah addon. I printed and cut the labels on my cameo with the text already in place so it made this whole process super easy and super fast, the whole page was done in less than 30 min. only because I angst-ed over what side of the cards to use and then had to pick the photos. I love this pop of color so much.


My third project was was a little challenge the Creative Team members decided to do this month and we each picked a member from the community to lift. I chose member Sandy Ang I absolutely love her graphic and clean style and I always find something super interesting and unexpected in each of her pages. You can see here gallery here and her blog is here. The page that I chose to lift is one of my absolute favorites of hers and it was a lot of fun to lift. The photos from our recent trip worked perfectly and it was a great way to quickly document the details. I used pieces of the 4x6 Paper Pad and the alpha and one of the brads from the Yeah Yeah addon to make this page.
Here is my page


and here is Sandy's page

source / Sandy Ang
My fourth project was something that I just had to do this month. With super limited time I wasn't sure if I was going to make all of these projects happen but I guess when you want something bad enough it just seems to come together. Shanna designed the most amazing accordion fold mini album for the digital shop this month and I used it for the base of my mini.

I used three strips of Shanna's template and just cut them out of plain white cardstock, nothing too think because I didn't want it to be too bulky. I designed each page separately and either printed out the photo or laid out the paper elements that I wanted to use. This card from the Repeat addon ended up being the perfect choice for my cover. The mini is a gift for my daughter and I used more photos from our trip that were specific to her adventures. Here you can see the complete mini and its about 5/8" thick with all of the layers.


This paper from the 4x6 Paper Pad was a perfect start to the mini I just laid out my journaling on my computer and printed it right on top of the card. The wood veneer elements in the Yeah Yeah addon were also really great accents for this project. I also opted to just snip off the arms of the brads with some wire cutters and then just use a foam dot to adhere them down so I didn't have the extra bulk on the back side to worry about.

Shanna's template set came with some overlays for your photos and I loved this one, I just laid it right on top of my photo and it was perfect. The blue page on the right is a printable set from Tina and I printed it out on vellum just to add a little variety. The Hello LOVE die set, is amazing, and I am completely in love with using manual dies now and I just love how perfectly in fit in the middle of Tina's printable. The tiny labels in the Repeat addon have some really cute sentiments and I loved picking out just the right ones to use.

Here is another of the dies that come in the set, I cut it out of two different colored papers and just fit the letters back in in a contrasting color.

Because we received some of the cards digitally this month it allowed me to print this card out on vellum, I left a bit of the edge and tucked it under the previous photo so it would open and lay on top of the photo underneath. I love this affect and it can be done with any of the printables in the store this month if you want to create a similar affect.

I love the watercolor cards in the Repeat Addon and again more wood veneer and tiny sentiments.

She was so brave! The banner is a digital file from the Card Kit Addon Stamps this month.

Here is the last die in the set and again I cut it out of two papers and layered them back in place and matched up the pieces so it looks seamless and I love it. The Be Happy is a digital file from the Scrapbook Stamps this month, also by Shanna.

This Hello Adventure card in the main kit could not be more perfect, it looks so similar to my photos I just had to use it.

I really loved the printable set that Geralyn designed this month and turned this card into a pocket so it could hold some journaling. I added a brad again with the legs snipped off and made a little ribbon out of the silver glitter washi tape.


This remember when card from the main kit was the perfect way to end the album with just a few sentiments and things I wanted my daughter to remember about the trip. I used the digital files of the Scrapbook Stamps to help number my list.

I hope you all were able to pick up everything you wanted in the shop this month and make sure you check out the Creative Team Gallery, its really amazing this month.

awesome projects!
ReplyDeleteDo you sell versions of your 3rd project? If so how much do you charge?
ReplyDeleteThanks in advance
Helen
Hi there, I do not sell projects that are pre made.
Delete