Wednesday, January 30, 2013

Project Life 2013 - Week 4


I can't believe were are the four week mark already this year, crazy right.  I struggled a lot this week, spent way too much time on Monday on this and at the end I just sort of feel okay about it.  Happy to have some awesome stuff documented for sure but happy also to be moving on.


Here are the sides up close.


I used several of the newest digital items from Studio Calico that I picked up this past Sunday, you can find the sets that I used here, here and here.  The first slot is a digital image from one of the stamps coming soon in the kits, I love that I can use a stamp image digitally and make it as large or as small as I need it to be.  We celebrated our wedding anniversary this past week so quite a few of these slots are from that day.  The top right card is a digital version of the card I made for my husband.  We were married on my Grandmothers birthday and this year would have been her 100th.  The photo of her is from the 40's and its a favorite for sure.  Larry is plugging away on his bike and got the engine back in all by himself which was quite a feat.  I'm really trying to capture more of some of the funny things Simone says and she gave me a good one to include this week.


I ended up moving the title card to the right side this week, it just worked better on the 6x4 slot and I wanted to make sure I used the January calendar card before the month was over.  The This Week and Play Date slots both use the same digital file from Studio Calico, I just covered the text on the play date card.  I love the clean look of that file and know I'll use it a lot.  The hand drawn ipad card came in January's Studio Calico Project Life kit and I couldn't leave that one unused.  I took a screen grab of the game I'm playing non stop these days and placed it right on top.  The rest of the spread is just a lot of random bits from the week.  I don't want to spoil the show in case you haven't seen it yet but if you watch Downton, were you just completely messed up by Sunday's episode like I was.  OMG, I sure hope the writer/creator makes it up to us as I stated on the photo.

I hope you have a great week, thanks for stopping by.

Wednesday, January 23, 2013

Project Life 2013 - Week 3

This past weekend we were lucky enough to have a visit from some family members so it certainly made my week and gave me lots of good stuff to include from the weekend.
 
Here is the full spread.


 And the left side.


I tried my hand at printing directly on a journaling card and it wasn't hard at all.  I set up my 3x4 canvas in PSE and typed and formatted my text.  I printed a test on plain white cardstock to make sure my words would fit by laying the card on top of what I printed and holding it against my window so I could see how it looked.  It was find so I attached my journaling card to the top of what I had just printed out with just a bit of adhesive and ran it back through the printer again.  One thing that helps is when you print your test, make sure to turn on print with crop marks.  That way if it all looks good you have a guide so you can line up your card perfectly when you run it back through the printer. 

My title card is a few different digital elements from The Lilypad, both from Paislee Press here and here.  The Currently card is from the digital Seafoam kit, recolored to match the red of the Hello Card next too it.  This particular Hello My Name Is card came in the Studio Calico Project Life kit but you can purchase the file as part of a kit that you can find here.


Here is the right hand side.


I managed to get quite a bit of text into my spread this week, something I'm very happy about.  I'm totally fine eliminating pictures to make way for words.  This week I had a lot to say as you can see.  The top middle text card is digital Seafoam kit as is the Today is Good.  The bottom Good Times word bubble card came in a Studio Calico class kit.  I believe its meant to be a cut file but I used it as a journaling card.

My brother came in on Saturday and planned to drive into the Bay Area to visit our Dad.  Before we left that I day I grabbed a map image on my ipad from Google maps that showed our starting and ending points.  I knew I wanted to make a card showing the route somehow.  I thought about stitching it and purchased some bright pink embroidery floss and used a few of the Geotag chipboard pieces that came in the January Studio Calico Project Life kit.  I added the photos on top digitally from our drive in.  The slot flips out to the right, I used the same method I shared earlier this week just changed up the dimensions.

Here is the inside of the flip.


And some detail shots of the map and stitching.


One thing is for sure, I want to stitch on everything now!

On a side note, I have received a few questions on how I recolor images in PSE and this video tutorial says it better than I ever could, its a video done by Ali Edwards, its a few years old but its a great one and she shares many great digital tips, not just recoloring an image.  This is also another great instruction sheet from Designer Digitals that might help as well.

Thanks for stopping by.

Friday, January 18, 2013

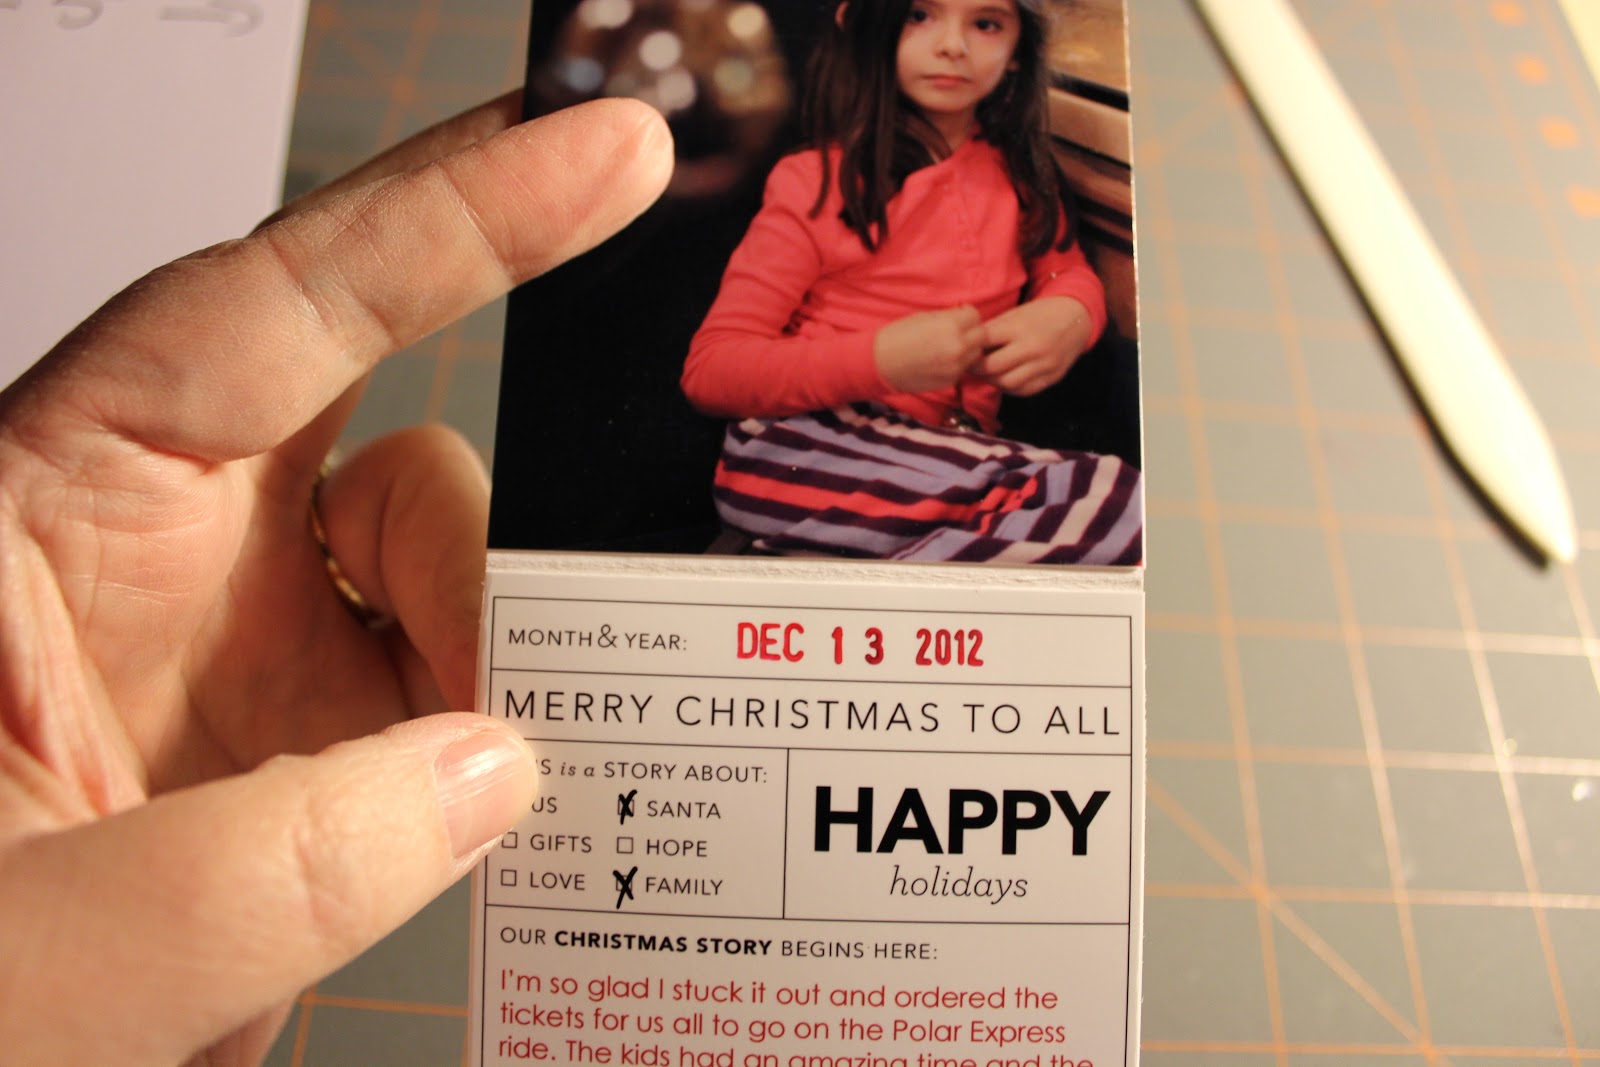
Tutorial - Project Life Flip Ups

I would say the number one question I get asked when I post Project Life layouts on Instagram is how do you do the flip ups.  This post is long overdue and I hope it inspires you to do some flip ups yourself. 

These instructions are for the basic flip ups that I do.  I will do a separate post for the one I just made turning 2 3x4's into a 6x4 very soon.

Here we go!

1.  Depending on the pocket you are making the flip up for you will cut your cardstrock to either 6" x 8 1/8" or 3" x 8 1/8".  The extra 1/8" allows the flip up to sit all the way into the pocket and fold over flat.  I use 110 lb. cardstock for my flips, I wouldn't use anything thicker than this because it will only add bulk to your pockets and it won't lay flat.

I will say that in some cases the 3 x 4 slots are a bit tight if you use the full 3" width so if you want to shave off a bit here feel free.  I usually will take off just an 1/8" and it slides right in.  It's completely up to you if you want more ease or if you want your inserts to fit tight.


2.  Fold each piece in half and using a bone folder really press in the creases.


3.  You will have three sides to decorate with either paper, journaling or photos.  As you can see here, you'll have the inside top and bottom as well as the outside.


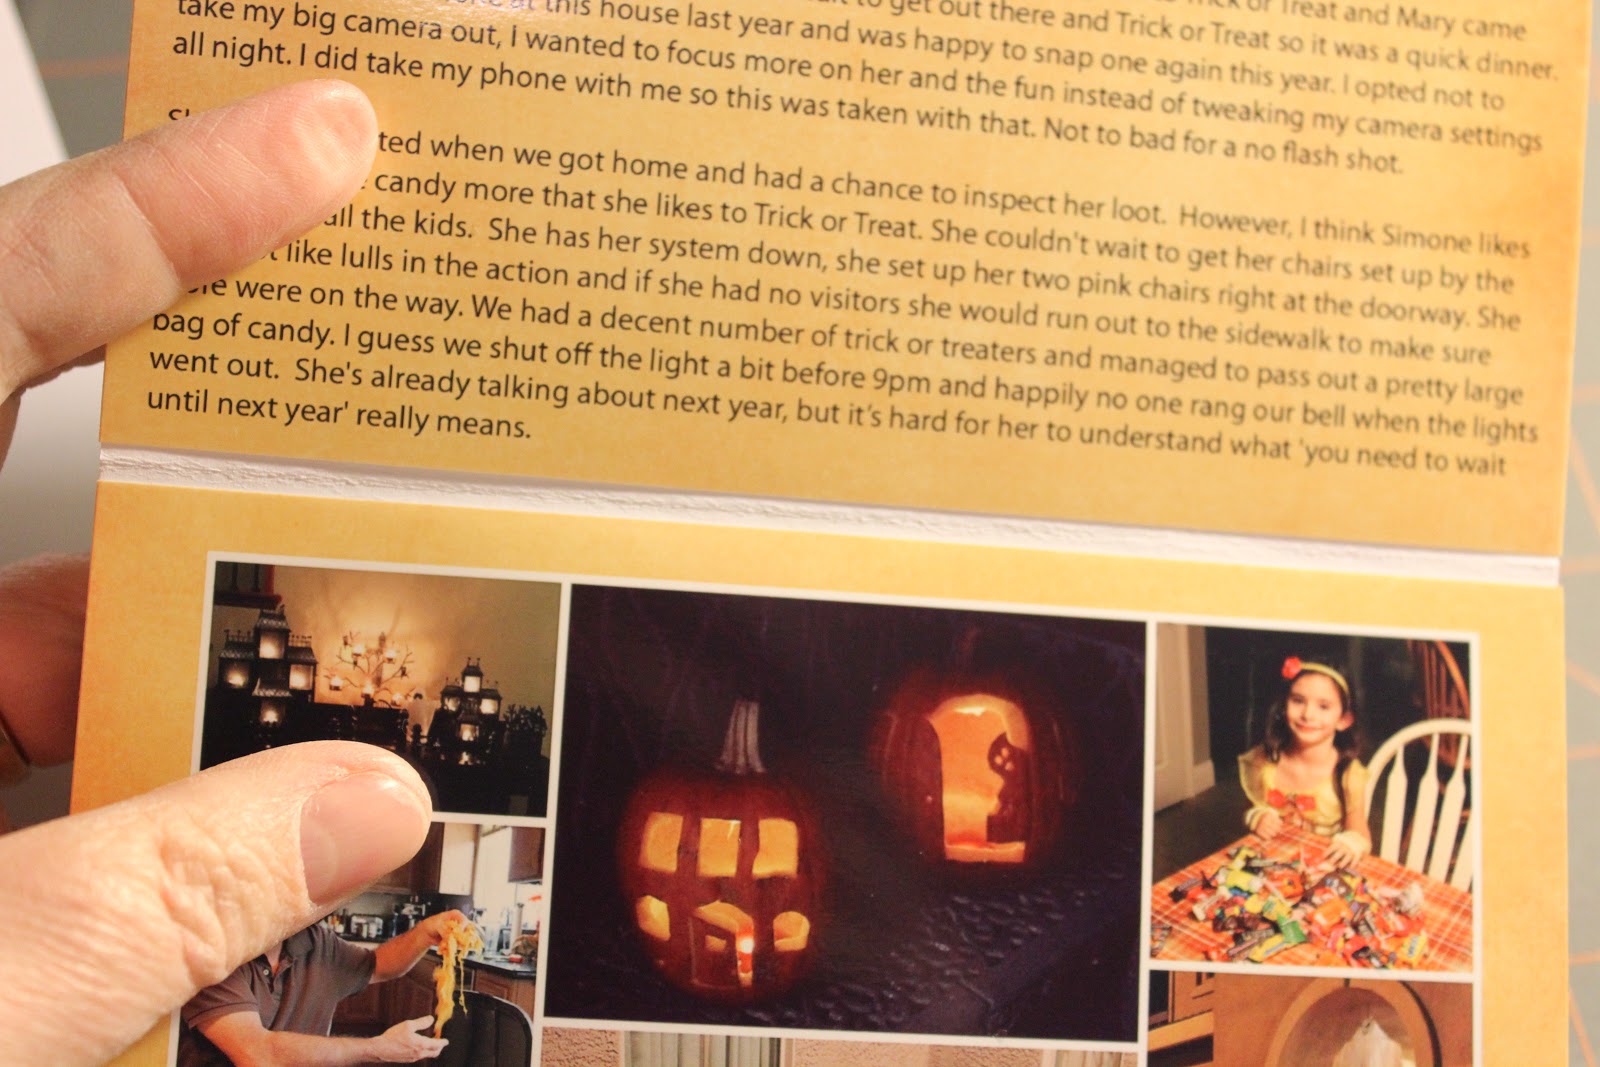
4.  Print out your photos and if you are rounding your corners do so now on all pieces, the photos and the flip up base you have created.  As you can see here, on one of the flip ups I made for Halloween, I've rounded the bottom two corners only of the piece that will go on the outside.  If you round the corners on the top edge you will see the white flip up.


5.  You'll then round the top two corners of the of the photo for the inside top and the bottom two corners for the inside bottom.


Here are photos of the same steps for a 3" x 4" slot


6.  Once you've rounded all your corners you will adhere the photos to the cardstock base; the outside, inside top and inside bottom lining up the rounded edges and sides.

7.  As you'll notice there is a very tiny gap between the inside top and bottom pieces.  This allows the cardstock base to fold, you'll want to keep a small gap here so make sure you trim your photos to the true size and do not add length here. 


8.  Once inserted into the pockets you'll see here that they fit inside exactly and that extra 1/8" is not noticeable at all.


One thing I want to add is since there are only openings on one side of Becky's protectors this method works best on the right facing pages.  In the past if I wanted to create a flip up for a pocket on the left facing page all I did was adhere the flip up to the outside of the page protector with double sided tape.

I hope you'll try it, it's a fantastic way to add more photos without having to create a whole insert.

Please let me know if you  have any questions.

Wednesday, January 16, 2013

Project Life 2013 - weeks 1 & 2

Taking a two week hiatus sure messed with my mojo!  Getting back in the swing was hard, adding a new protectors to the mix sure had me doing a lot of head scratching on Monday.  I'm still not convinced this will work for me but I'm going to give it some time.  I'm choosing to think that uncomfortable feeling I'm having is a good thing and it goes with one of my goals this year, challenge myself more. 

Let's get on with week 1


I loved the Studio Calico Project Life kit and really want to use as much of it as I can.  Many of the inserts this week came from it.


One of the things I wanted to try was how to turn some of these 3x4 slots on Design F into a 6x4 if needed.  I managed to figure it out for the resolutions card but plan on tweaking the design just a bit more.  I'll post how to's for all my flip ups soon for sure.


I love having the Seafoam kit in its digital format.  I love that I can change things as needed, including recoloring. For instance the card with the ! is actually a 3x4 journaling card that I enlarged to fit in the 4x6 slot.


Here is week 2


One thing I wanted to do more of this year is tell longer stories and write a bit more.  I felt last years album could have used a lot more of that.  Having two extra slots with this protector combo will hopefully allow for that.  I was able to get quite a bit of text in one little 4x3 slot.


I think the thing I'm struggling with the most with this combo is that things are not in order.  That's just how I'm wired.  I want things to flow and go in chronological order.  That being said I'm kind of digging the ability to highlight 4 photos a week in the larger 4x6 slots so I'm giving it a chance and will continue to evolve the process.

I hope your 2013 has started off well, thanks for stopping by.