Showing posts with label December Daily 2016. Show all posts

Tuesday, November 14, 2017

December Daily® 2016 │ Complete Album Walk Through


I cannot believe that its almost time to start another December Daily® album! If you are new to this project, Ali Edwards created the December Daily® concept and you can read all about it on her site right here. The project consists of a scrapbook album that documents the days leading up to Christmas and for some all the way thru New Years. This will be my 9th year doing an album so I thought it would be a good idea to do a walk through video for my YouTube channel of my 2016 album. My plan will be to share walk through videos of my 2017 album probably weekly as the project happens. I'll be sure to post the videos here as well as on my channel.

I'll be back closer to December to share some details about my 217 album but I typically do not create anything in advance so I won't be sharing any foundation pages. You can view some of my previous albums for some inspiration by using the search function or by viewing the labels on the right hand side. I haven't photographed all of my albums because some were made before I was blogging, but you can see the last six albums here on the blog.

I hope you enjoy the video.


blog signature 012615

Tuesday, January 10, 2017

December Daily® 2016 │ The End

I wanted to share the last little bit of my album before I shelve it for the year. I always try to capture photos of our elf Twinkle ever since she came to visit us four years ago. Last year I added a fold out collage of photos and I thought about doing that again but when Ali shared how she used the pocket from her main kit and filled it with large tags, I was inspired.


I decided to make my own pocket mainly because I wanted it to be white and the off white color of the pocket in the main kit wasn't doing it for me. Plus I knew I wanted to Minc the word Twinkle for the front pocket. This is something I did last year too and loved it so repeating it again was totally fine for me. I used a digital brush from Ali Edwards that is included in her brush set called Noel. You can find it in her digital shop.


The cut file I used to create the pocket is from the Silhouette store, I just modified it for the size and shape I wanted. You can see a tutorial on how I modified the same pocket page for another project right here. I had to cut the front portion of the pocket twice because my Minc machine is the 6" version so I had to hack it a bit but it still worked. I lined the pocket with the same gold star vellum I started the album with and like the continuity.

The tags were created by me, I just enlarged a tag shape to the size that would fit the pocket and create clipping masks to add in my photos. I did a print and cut on my Cameo and lined the photo paper with plain white cardstock to beef it up a bit. I cut the reinforces out of gold paper and added some ribbon for accent. The numbers came in the Jasmine Jones mini kit that I hadn't used yet and they worked perfectly here to number the days.


I didn't add any text because I didn't think the photos really needed captions, they are pretty self explanatory.


That flair on the outside of the pocket came in Kelly Purkeys' December kit and its my favorite sentiment of the season and a perfect way to wrap up the project.


I hope this inspires you if you also have a visiting elf and have no idea how to wrangle all the pictures. I will say its nice to be done but its definitely energized my memory keeping and it has me excited to continue making in the coming year.

See you soon!


blog signature 012615

Thursday, December 29, 2016

December Daily® 2016 │ Days 22 thru 25

I intentionally didn't rush thru the last few days of this project because I was savoring it. I really never want it to end but it always does. I have one last thing to create for my album to slip into the back to hold our Elf photos but for the most part my December Daily® is done.  Here are the last few days.

Day 22


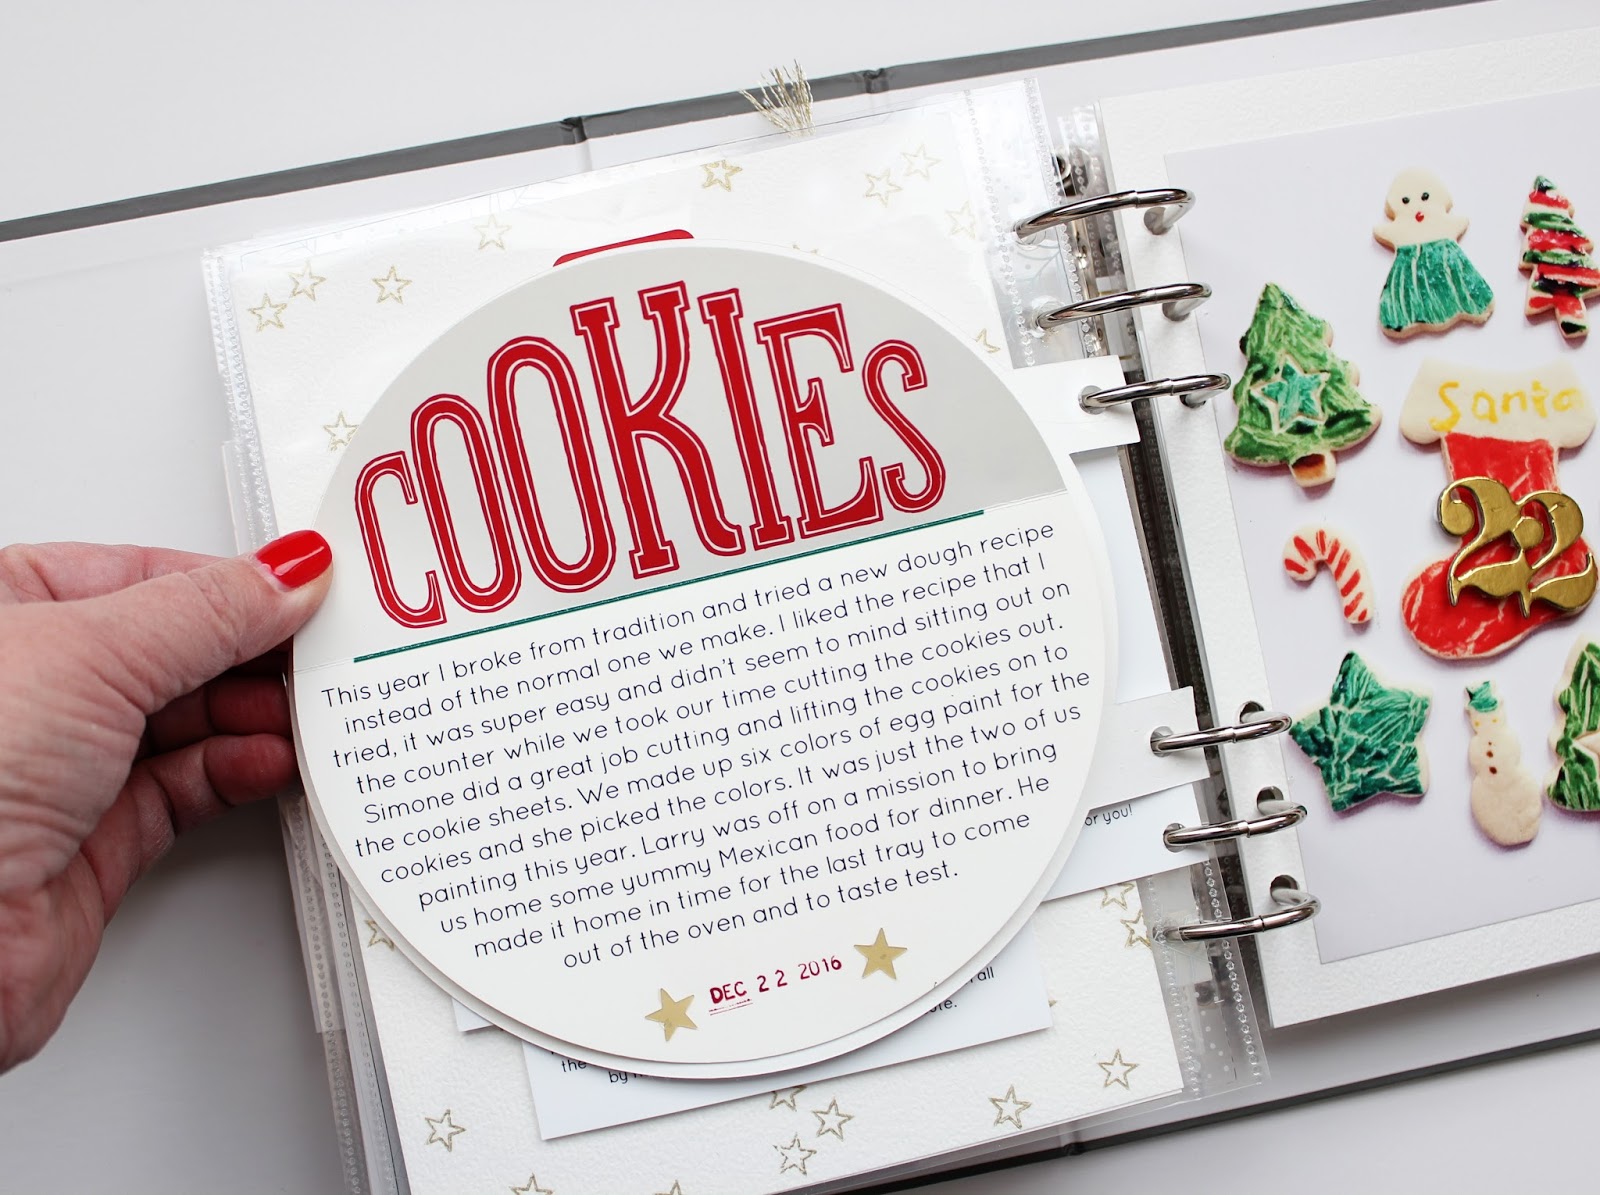
I struggled with how to use the back of the previous circle page for a few days and was happy I gave myself the time to come up with an idea. In the end a pocket was born to hold extra pics printed with my Instax printer. Its double sided so I had a place for the journaling.


When you screw up your stamping but you're not going to recreate the whole page you leave the mistake in even though it really bugs you.


Day 23


I really wanted to use the little rubber circles that came in Ali's main kit but was having a hard time fitting them in. In the end a page inspired by bokeh was born. The tissue confetti was from Ali's kit last year and I'm glad I held on to it. The left side is one of Ali's story note pads that I used as a base. It's a little different than just a plain white background and I love that.


Magic card is from Kelly Purkey's December kit.


Journaling card from In A Creative Bubble.


Day 24


Kelly Purkey's December kit release contained this new set of numbers that I just love. Its from her Day One main kit and I just love them. I used the outline number and the companion Day One numbers stamp to create my background. I just alternated the placement and filled in some of the outlines but not all. I added in the little December and TH stamps and love how this background turned out.

I cut one protector down to add in some extra pictures and then added a tab to the edge.


The filler card is from Push Print Studio that I recolored to match the In A Creative Bubble card.


Loving the new Insta Story stickers you can add to photos.


Gold card and flair from Kelly Purkey's kit.


Journaling card from In A Creative Bubble edited for size and color.


I have used this 6x8 template from Ali Edwards for the past four years on Christmas Day. It seems to be just the right size to get in some favorite shots from the morning.


Like I said above I plan to add in one last piece to hold all of our elf pictures from the month and I'll be back to share that as soon as its done.

I hope you all had a glorious holiday season!

xoxo,
blog signature 012615

Wednesday, December 21, 2016

December Daily® 2016 │ Days 16 thru 21

Phew, playing a bit of catch up here today and I have lots to share. I really cannot believe we are four days to Christmas, this month has flown by so fast! Its crazy! Sorry in advance for all the pics, its a photo heavy post.

Day 16


I really wanted to use my Instax printer more this year, since I didn't add one photo last year even after buying the printer new expecting too. The page protectors I used are from the Project Life brand, the Instax sized filler cards were in a kit from Studio Calico that was designed by A Beautiful Mess last year.


This journaling card is from In A Creative Bubble, I scaled the size to fit the pocket.


Day 17


I've been hoarding that number card from Studio Calico for a few years now, finally used it, so yay me!


A simple photo and text on the back about sending cards, and of course our card. I used my last Basic Grey white attacher on the card which is sad. I did cut some myself for the other card using a tab die from Hero Arts and a thin piece of transparency. It worked great so going forward I have that option.


Day 18


Starbucks always makes it in my album some way. This year there's no red cup for me but I was able to use that cute felt clip that I bought on Etsy in my album anyway. Today was all about building gingerbread houses and the Starbucks Cafe was a huge hit for us.


I dressed up the outside of a Cosmo Cricket vellum bag with cards from Ali's main kit and layered one of Kelly Purkey's red letterpress numbers on top.


Inside the bag are photos and words from the day. The journaling card is from Sahlin Studio and I added my text to the back side as you will see below. The red and white paper clip is from my stash and I can't remember who made them, they're pretty old.


Day 19


I always get at least one good shot of our tree in the album and today was the day. I backed the vellum bag with a card from the main kit. I really wanted to use this so it worked perfectly here. The other card is from Ali Makes Things and I thought the two sentiments worked well together.


I used a journaling card from In A Creative Bubble to add my text, I did make it bigger and the original design had hand drawn stars so I opted to delete that part and add in some gold glitter stars instead. I love the dimension it adds. The fa la la pieces was from Jasmine Jones mini kit I believe, or was it Ali's main, I can't remember.


The transparency this all sits on top of was one of the early purchase freebies that came from Ali, I love this one.


Day 20


A simple day about my daughters stocking. I made our stockings before she was born and made sure to leave room on hers so she could add what interests her as she grows up. This years addition was a donut, love! The gold card is from Kelly Purkey's December kit as is the number.


Day 21


I added in another circle page because my daughter brought home the most adorable wreath from school today, I had to get that in there somewhere so in it goes. Lots of text for this day since it was the last day of school for the holiday break.


I don't expect to share more before Christmas so I hope you all have a joyous and happy holiday!

xo,

blog signature 012615

Friday, December 16, 2016

December Daily® 2016 │ Days 14 and 15

As the big day gets closer, the pages get more simple. Thankful for photos with white space to fill with text and embellishments and calling it done.

Day 14


I snapped this picture in line at Target, not really because the line was bad but more so because I was surprised by such a long line on a Wednesday late morning. This is the type of line I'm used to seeing at our Target on a Sunday in December not mid week and mid day. That being said it really moved quickly and the staff at our store and just been so awesome this season. I need to tell the manager that next time I'm there. Way to go Target!

The red acrylic piece and the stars from Color Cast Designs fit nicely into my white space of this photo and I love how the red is the perfect match to all things Target. The acrylic is all placed outside of the protector and I just use my Scotch dot roller to attach it and its holds really well.


Day 15


The day was pretty much filled with wrapping, wrapping and more wrapping. I love to lay out the papers I plan to use and snap a quick picture because wrapping paper changes so much over time. What I wouldn't give for some vintage rolls of paper from when I was a kid. I think this is the type of stuff I will love having pictures of years from now.


I hope everyone has an awesome weekend! I'll be back early next week to share some more.

blog signature 012615

Thursday, December 15, 2016

December Daily® 2016 │ Days 10 thru 13

Still cruising along with my album. My pace seems to be about every two days with making pages and that seems to be working for me. I have four days worth to share here so lets get too it.

Day 10

My daughters birthday is always a big deal and its an even bigger deal since its in December and gets to be included here every year.


Because the previous day was only one page I needed to separate the two spreads some way. I opted for using an old transparency that came in one of Ali's previous kits. It was either last year or the year prior I can't remember. I added in large silver numbers from Studio Calico and some old glitter foam thickers from American Crafts to decorate the front.


The blue thickers helped enhance the color of my daughters birthday balloon. I started leaving these balloons for her to find every morning since she was 6 and its become a fun tradition. I love that they now offer the blue since its her favorite color.


There are some more pictures and some journaling on the pages behind but I'm keeping that portion private.


Day 11

SANTA! I really wanted to find a more homey Santa experience this year and a friend suggested we hit up our local Historical Society. It ended up being lovely and the historical house they have decorated was really pretty. I'm so glad we did this and Simone's private visit with Santa was personal and special. He really spent a lot of time with her and with us visiting. I know she really appreciated it.


I added in some journaling cards from In A Creative Bubble to help tell the story. I love the red and green and how it works with my daughters coat.


This postcard is from Urbanic and I bought two at the beginning of the year. I added in some Ho Ho Ho washi that I bought from Michael's to help dress it up. The washi is a huge disappointment because it wasn't sticky at all. I had to apply adhesive to the back side so I hope it lasts, it may end up falling off which is too bad. I added in a tab at the top to help turn it.


My daughter wrote and left this letter for Santa but I snapped a pick before it hit the mailbox. It might be the only one she writes this year and I wanted to make sure to save it somehow. They even let me snap my own pictures with Santa for free which was really nice.


Days 12 and 13

I made simple half pages for these two days and love how the colors ended up tieing in nicely.


Ever since my daughter was small I started wrapping her gifts in special paper that is only for her. As she has gotten older she now picks the paper herself. We make a special trip for it and I always put a piece of the paper in the album. I love what she picked this year, its really pretty and it even has glitter on it! I made the photo into a Polaroid shape and added in a simple line of text and then stamped the date using Elle's Studio new date stamp. I really love this stamp set, its a must have for sure. I used Ali's new gold ink for the first time and love the color gold. It worked well stamped on photo paper but I did hit it with my heat gun for a bit to help it set down. I opted to put the backing with the wrapping paper inside the page protector and attach the photo outside of the page protector and used foam tape to lift it off. That added dimension really makes it pop and I love things outside of the protectors.


I knew I wanted to get a photo of the new wreath that hangs on our front door and wanted to make it something special instead of just a large photo or a square photo. I made the circular sheet with the attached tabs to add in to the album with my Silhouette Cameo. I also did a print and cut of my photo from my Cameo too. That way I knew it would be the perfect size and I can't be trusted to cut circles by hand.


I made a backing sheet to hold my journaling using a digital file from In A Creative Bubble. I then did another print and cut with my Cameo so it would line up perfectly.


I really love how this circle page looks in my album and if you are interested in making one yourself, you can download the cut file right here. Please make sure you share pictures with me and give credit if you use the file. Its for personal use only and should not be sold to or shared with anyone.

Today is wrapping day so I'll be back soon to share more.

blog signature 012615